What Essential Tools Do You Need for Tiling?
2024-10-11
Installing tiles can be an exciting DIY project, but having the right tools is crucial for a successful outcome. Whether you're a novice or a homeowner looking to spruce up your space, understanding the basic tools used in tile installation will help you achieve professional results. This guide will explore essential tile installation tools, including trowels, tile cutters, levels, and more, to assist you in making informed choices.
1. Trowels: The Foundation of Tile Installation
A trowel is a key tool in any tile installation project. Professional tile tools often include notched trowels, which help spread adhesive evenly on the surface. The size of the notches determines the amount of adhesive applied, so choosing the right one based on your tile's size and type is essential. For larger tiles, a larger notch trowel (such as 1/2 inch) is ideal, while smaller tiles may require a 1/4 inch notch.
When selecting a trowel, consider the following:
Material: Stainless steel trowels are durable and resist rust, while plastic trowels are lightweight and easy to handle.
Handle Comfort: Look for ergonomic handles that provide a comfortable grip, especially for extended use.
2. Tile Cutter: Precision and Ease
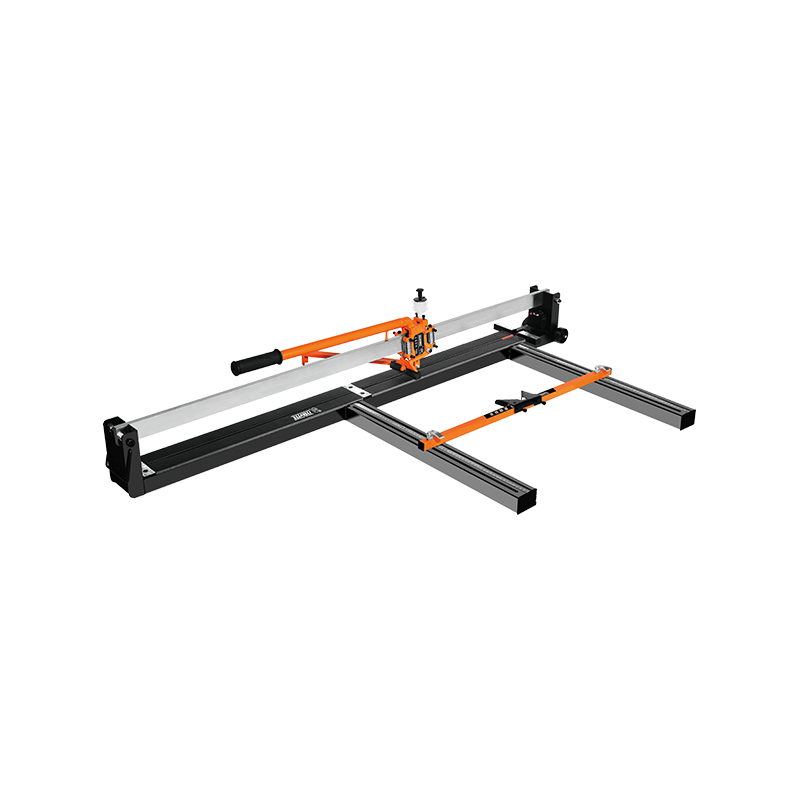
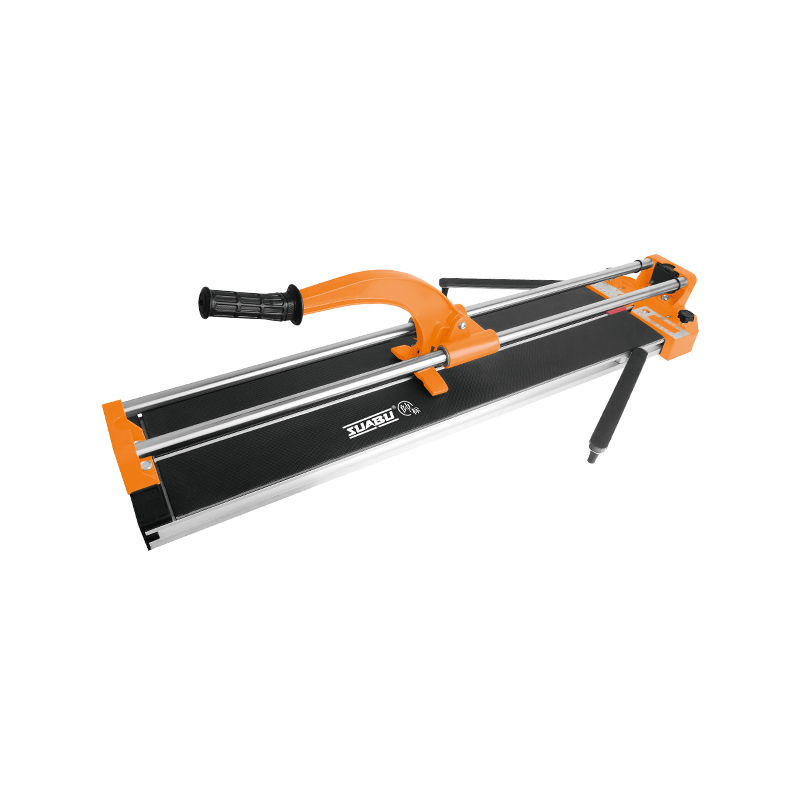
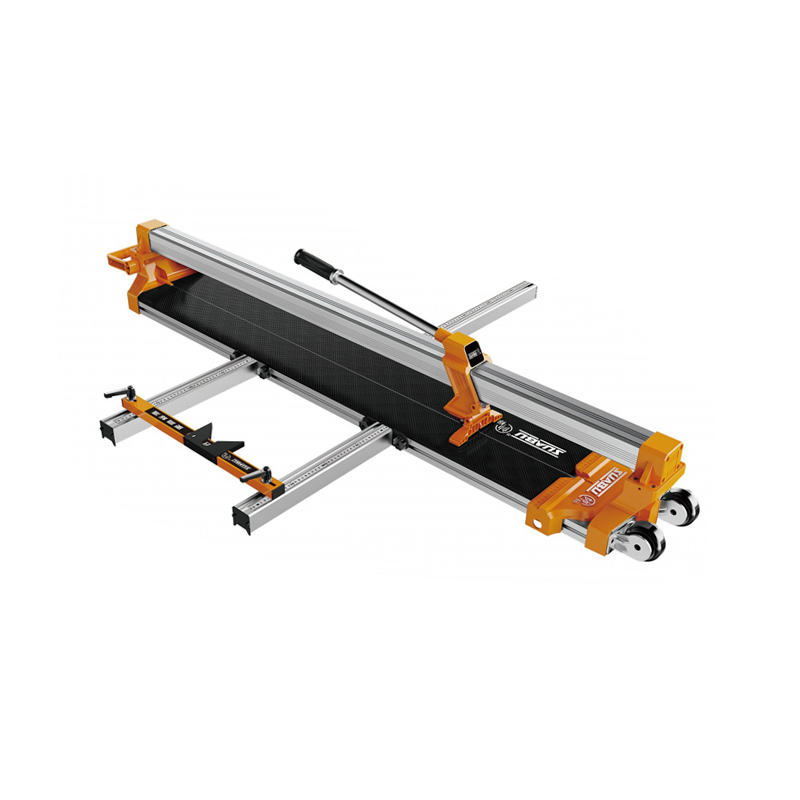
A tile cutter is indispensable for cutting tiles to fit specific areas. Professional tile tools range from manual tile cutters to electric ones. Manual cutters are suitable for ceramic tiles and are easy to use, while electric cutters are suitable for larger projects and tougher materials like porcelain or glass tiles.
When choosing a tile cutter, keep these points in mind:
Tile Type: Ensure the cutter can handle the tile material you're working with.
Cutting Capacity: Check the maximum tile size the cutter can accommodate.
3. Level: Ensuring Accuracy
A level is crucial for ensuring that your tiles are installed straight and even. Using a level during installation will help prevent issues down the line, such as uneven surfaces that could lead to cracks or loosening of tiles. Professional tile tools typically include both standard levels and laser levels.
Here's how to choose the right level:
Length: A 2-foot level is good for smaller spaces, while a 4-foot level provides greater accuracy for larger areas.
Laser Levels: These offer precision and convenience, projecting a straight line across the surface for alignment.
4. Spacers: Perfecting Grout Lines
Tile spacers are small plastic pieces that ensure even spacing between tiles, creating consistent grout lines. These tools are essential for a professional finish, as they prevent tiles from shifting during the adhesive curing process.
When selecting tile spacers, consider:
Size: Choose spacers based on the desired grout line width, typically between 1/16 inch and 1/4 inch.
Material: Plastic spacers are the common, but you can also find reusable rubber spacers that are more durable.
5. Grout Float: Smooth Finishes
A grout float is used to apply and smooth grout between tiles. This tool ensures that the grout is packed evenly into the joints and provides a clean finish.
Key considerations for a grout float:
Material: Choose a float with a rubber base for better control and smoother application.
Handle: Look for a comfortable handle that allows for easy maneuverability.
6. Safety Gear: Protecting Yourself
When working with tiles, safety should be a priority. Consider wearing gloves, safety glasses, and knee pads to protect yourself during installation. Professional tile tools often come with safety features, but having personal protective equipment is always a smart choice.
Equipped with the right tools, you can approach your tile installation project with confidence. Whether you're a DIY enthusiast or a renovation rookie, understanding how each tool functions and choosing the right one will help you achieve a stunning finish. From trowels to tile cutters, each tool plays a vital role in the process. Remember, investing in quality professional tile tools will pay off in the long run, making your project easier and more enjoyable.


